Making your own Bacon at home is safe, easy, fun and most importantly, delicious. Once you try this simple recipe, you’ll never eat store-bought bacon again!
We have a Beginner’s Kit available here, where all you need to add is meat, an oven, a fridge and a fry-pan!
The Beginner’s Guide to Home Made Bacon
Step One: Choose Your Cut
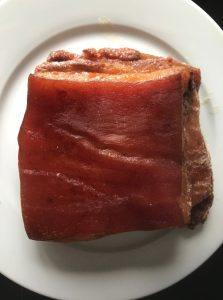
You can use pretty much any pork cut to make Bacon. For a traditional English/Australian style bacon, you’ll need a cut of loin and belly. For Canadian bacon, loin. And for American style streaky bacon, pork belly is ideal. (In the example below, we use pork belly)
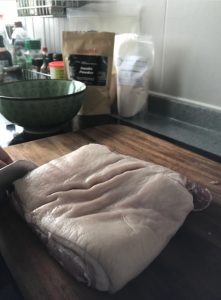
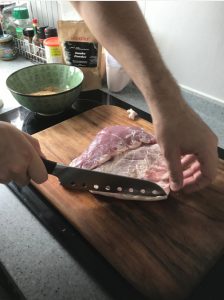
Step Two: Prepare Your Cut
Trim away excess fat and try to square up your cut. Choose to keep or remove the skin (rind). The rind will shrink considerably during the curing process, but by removing it – you will allow for the cure to do it’s work more easily.
Step Three: Measure Your Cure
For beginners, we recommend Misty Gully’s Maple Bacon Cure. Not only is it delicious, but it takes the worry about measuring nitrite to salt levels away, and means you’ll achieve a lovely maple flavour every time. Use 40g per kg of meat. If you do not have a smoker and would like to add a traditional smokey flavour profile, add 1 teaspoon of Misty Gully Hickory Smoke Powder per kg of meat to the mix. Add 1/3 teaspoon of ground black pepper per kg of meat.
Optional extras: if you want to spice things up even more, add any one or more of the following- ground coffee, honey, maple syrup, thyme, coriander seeds, mustard seeds, paprika, bourbon…
If using your own cure: you will need Cure #1 (6.25% Nitrite). You will need 2g per kg of meat, mixed with ¼ cup Kosher Salt, and ¼ cup of Sugar or Maple Crystals. If you do use your own cure, make sure you are precise with measurements.
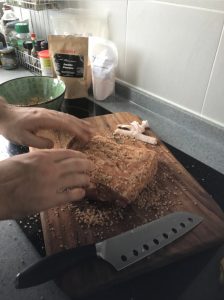
Step Four: Apply Your Dry Cure Mix
Thoroughly rub the dry cure mix into your pork. Be sure to get right into all folds and crevices.
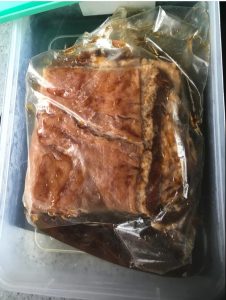
Step Five: Seal and Refrigerate
Put your pork into your zip-lock bag or air-tight plastic container, expel the air, and seal then put into the fridge. As for how long to cure your bacon in the fridge for, it will depend on the size of your meat. We suggest a approximately 1 day per 500g of meat up to 8 days, with a minimum of 4 days. Curing your bacon for longer than the recommended time will result in a saltier end product.
Step Six: Turn It Over
Every 24 hours, turn your pork over. You will notice liquid will be building in the zip-lock bag. This is a good thing, don’t drain.
Step Seven: Soak Your Meat
Remove your bacon-to-be from the zip-lock bag, rinse under the tap, then soak for 60 minutes in room temperature water. This should remove excess cure.
Step Eight: The Pellicle
Remove from the water and pat dry with paper towel. Place on a plate and refrigerate uncovered for 6-24 hours. During this time, the meat will develop a shiny skin, known as a pellicle. When smoking, the pellicle is important as this is what absorbs much of the smoke flavour you trying to imbue.
Step Nine: Bring Your Bacon Up to Temperature
Your pork is now cured and is ready to be pre-cooked. This is the final step in turning pork into bacon.
For best results, use a smoker. This will give you a true smokey bacon taste. Pre-heat oven to 110 degrees Celsius. Add your wood chips. We recommend Apple, Maple, Cherry or Hickory.
If using an oven, pre-heat to 110 degrees. Spray your bacon with Misty Gully Liquid Smoke.
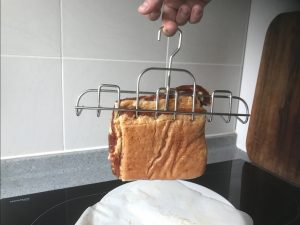
Place bacon on your bacon hanger and hang from the top rack of your smoker or oven.
Check the internal temperature regularly and cook until it reaches 65 degrees Celsius – this will take approximately 75-90 minutes.
Step Ten: Cool Your Bacon
Remove from the bacon hanger and place bacon in the fridge to cool for 60 mins.
Step Eleven: Slice Your Bacon
You’re now ready to cut and cook! Slice to your desired level of thickness. We recommend rough cut, thick rustic slices.

Step Twelve: Cook Your Bacon
Cook as desired. Your bacon will last for up to 3 weeks in the fridge or 3 months in the freezer!

At Smoked and Cured, we provide a variety of pellet smokers, electric smokers, and more. Browse our selection today!
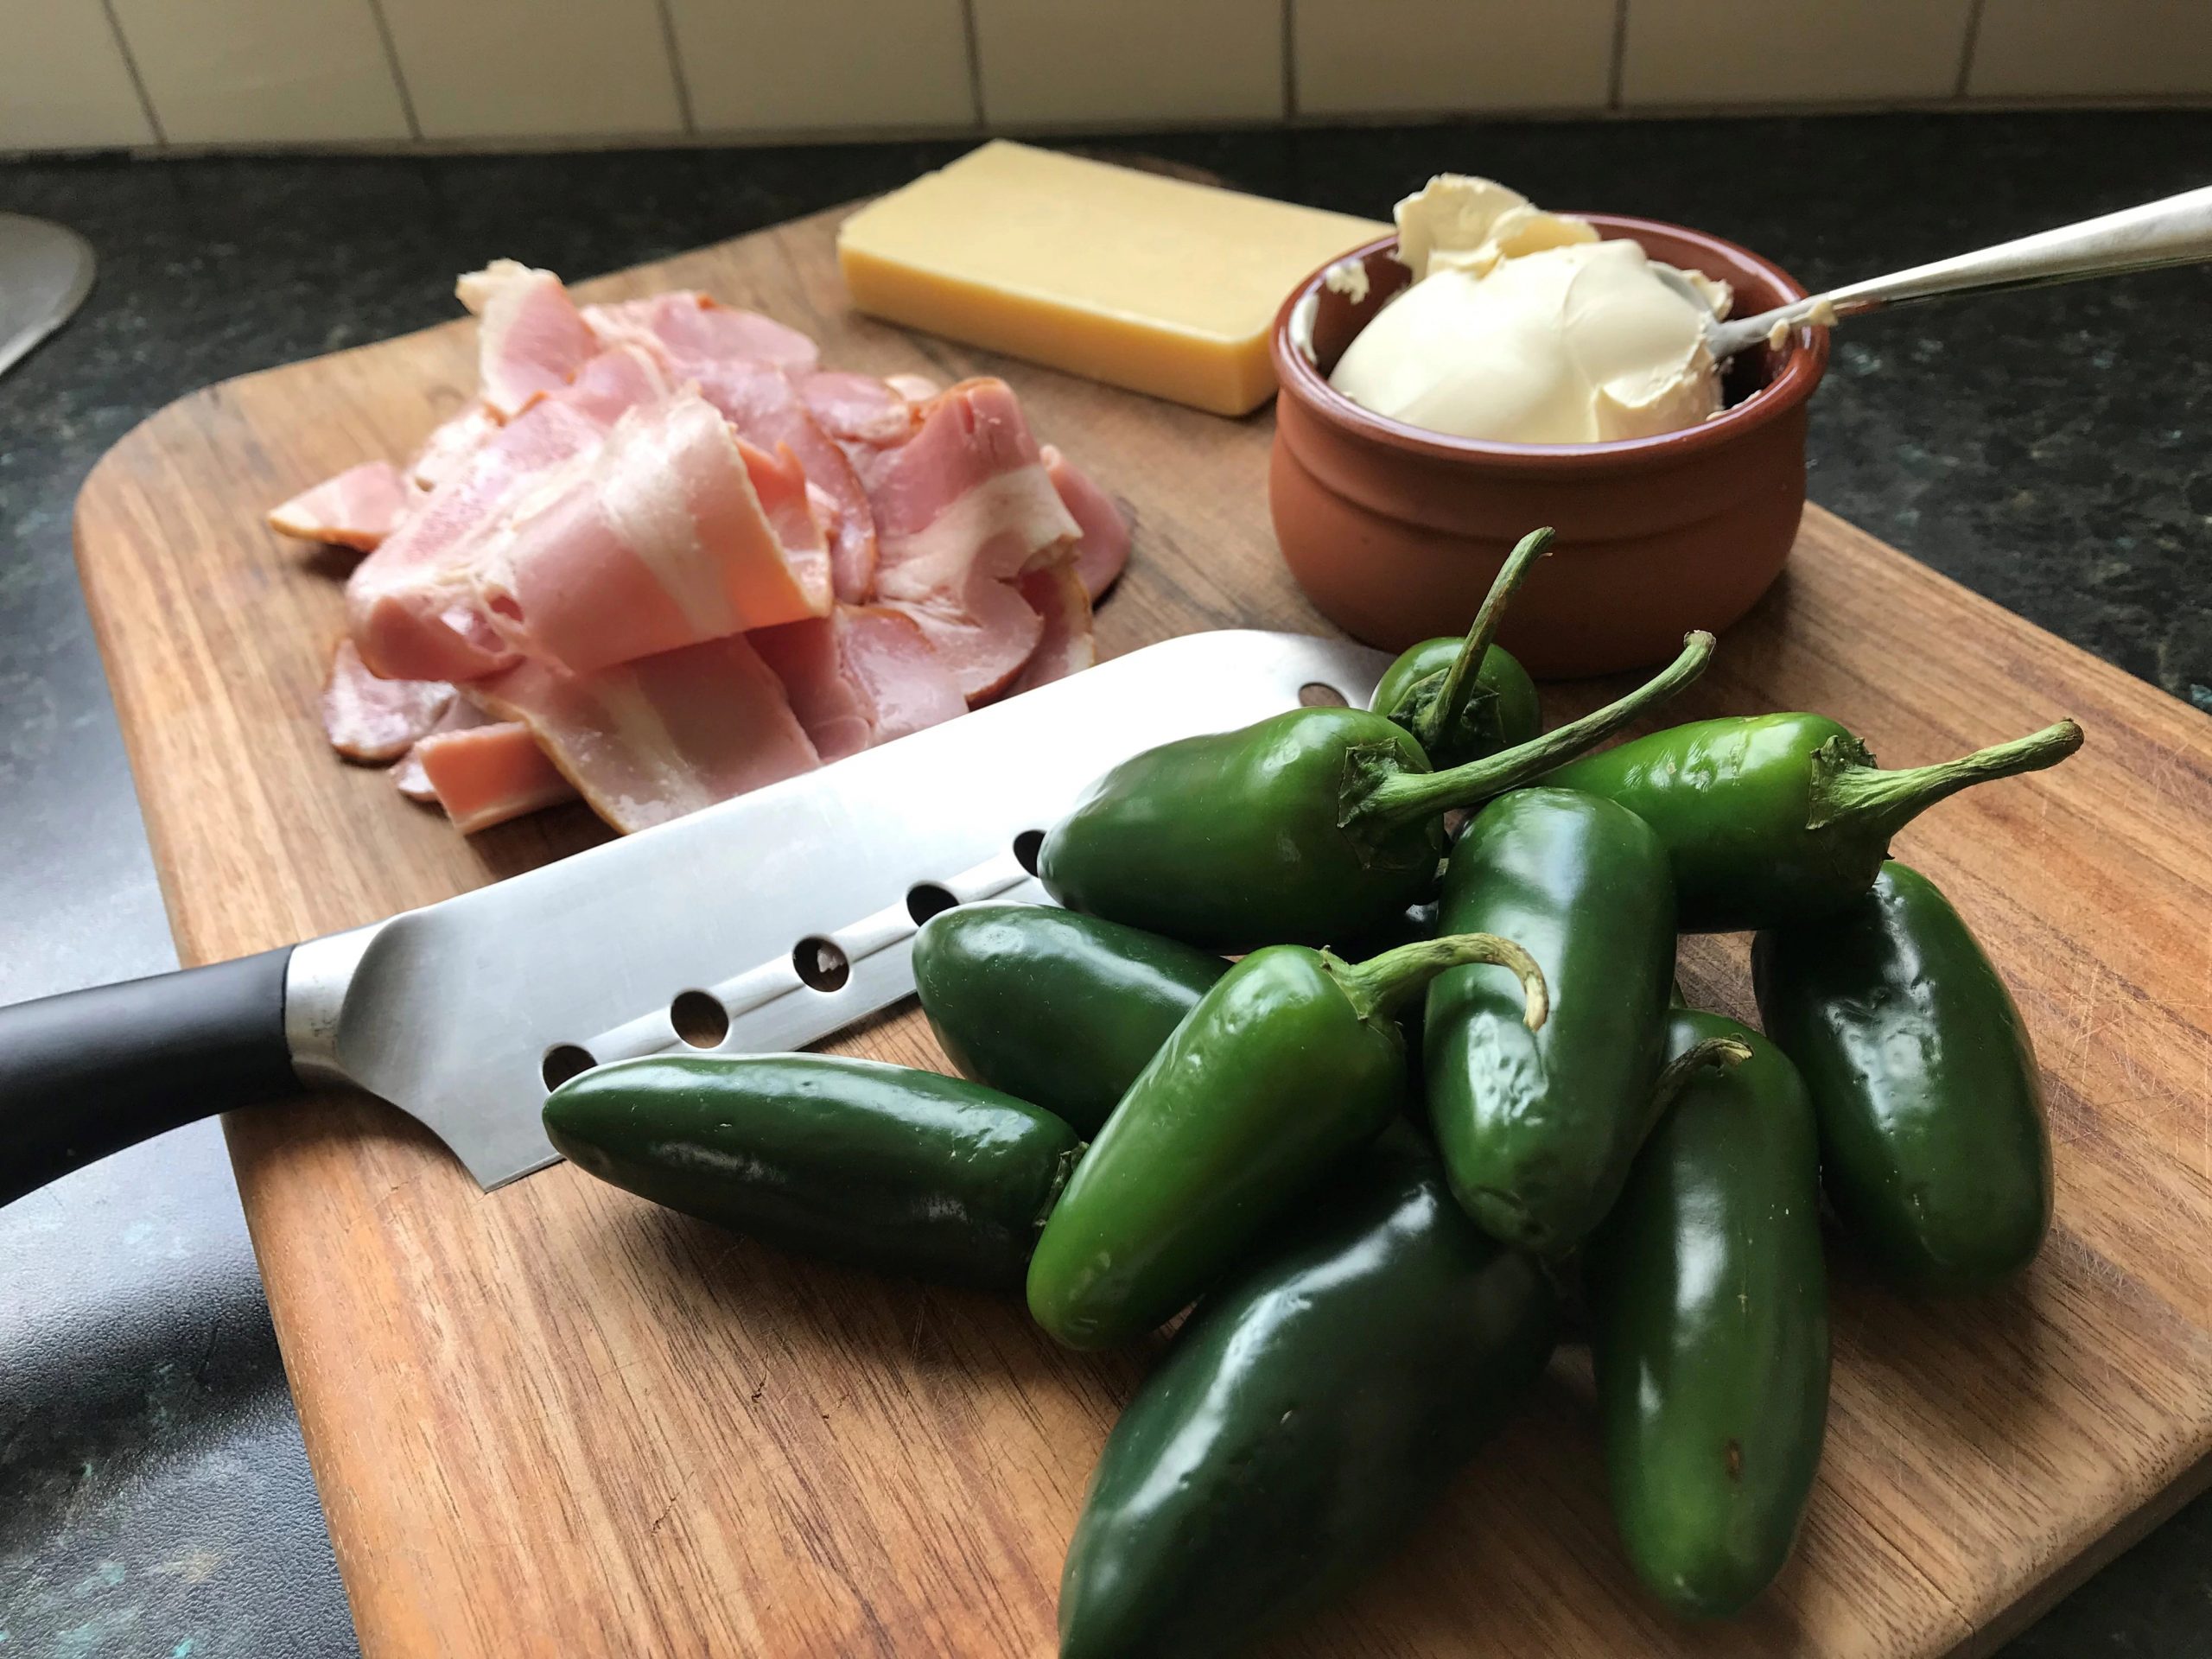
How to make Jalapeno Poppers
These smokey, spicy and creamy jalapeno poppers are not only delicious, but so simple to make. Never tried one before? Once you've tasted just one bite of these you'll be wondering how you ever lived…

How to Make Vegan Roasted Capsicum & Red Lentil Sausages
This vegan sausage recipe was really tasty and easy to make, not to mention a great way to get some veggies into your diet. The great thing about sausages is that you can experiment with different…
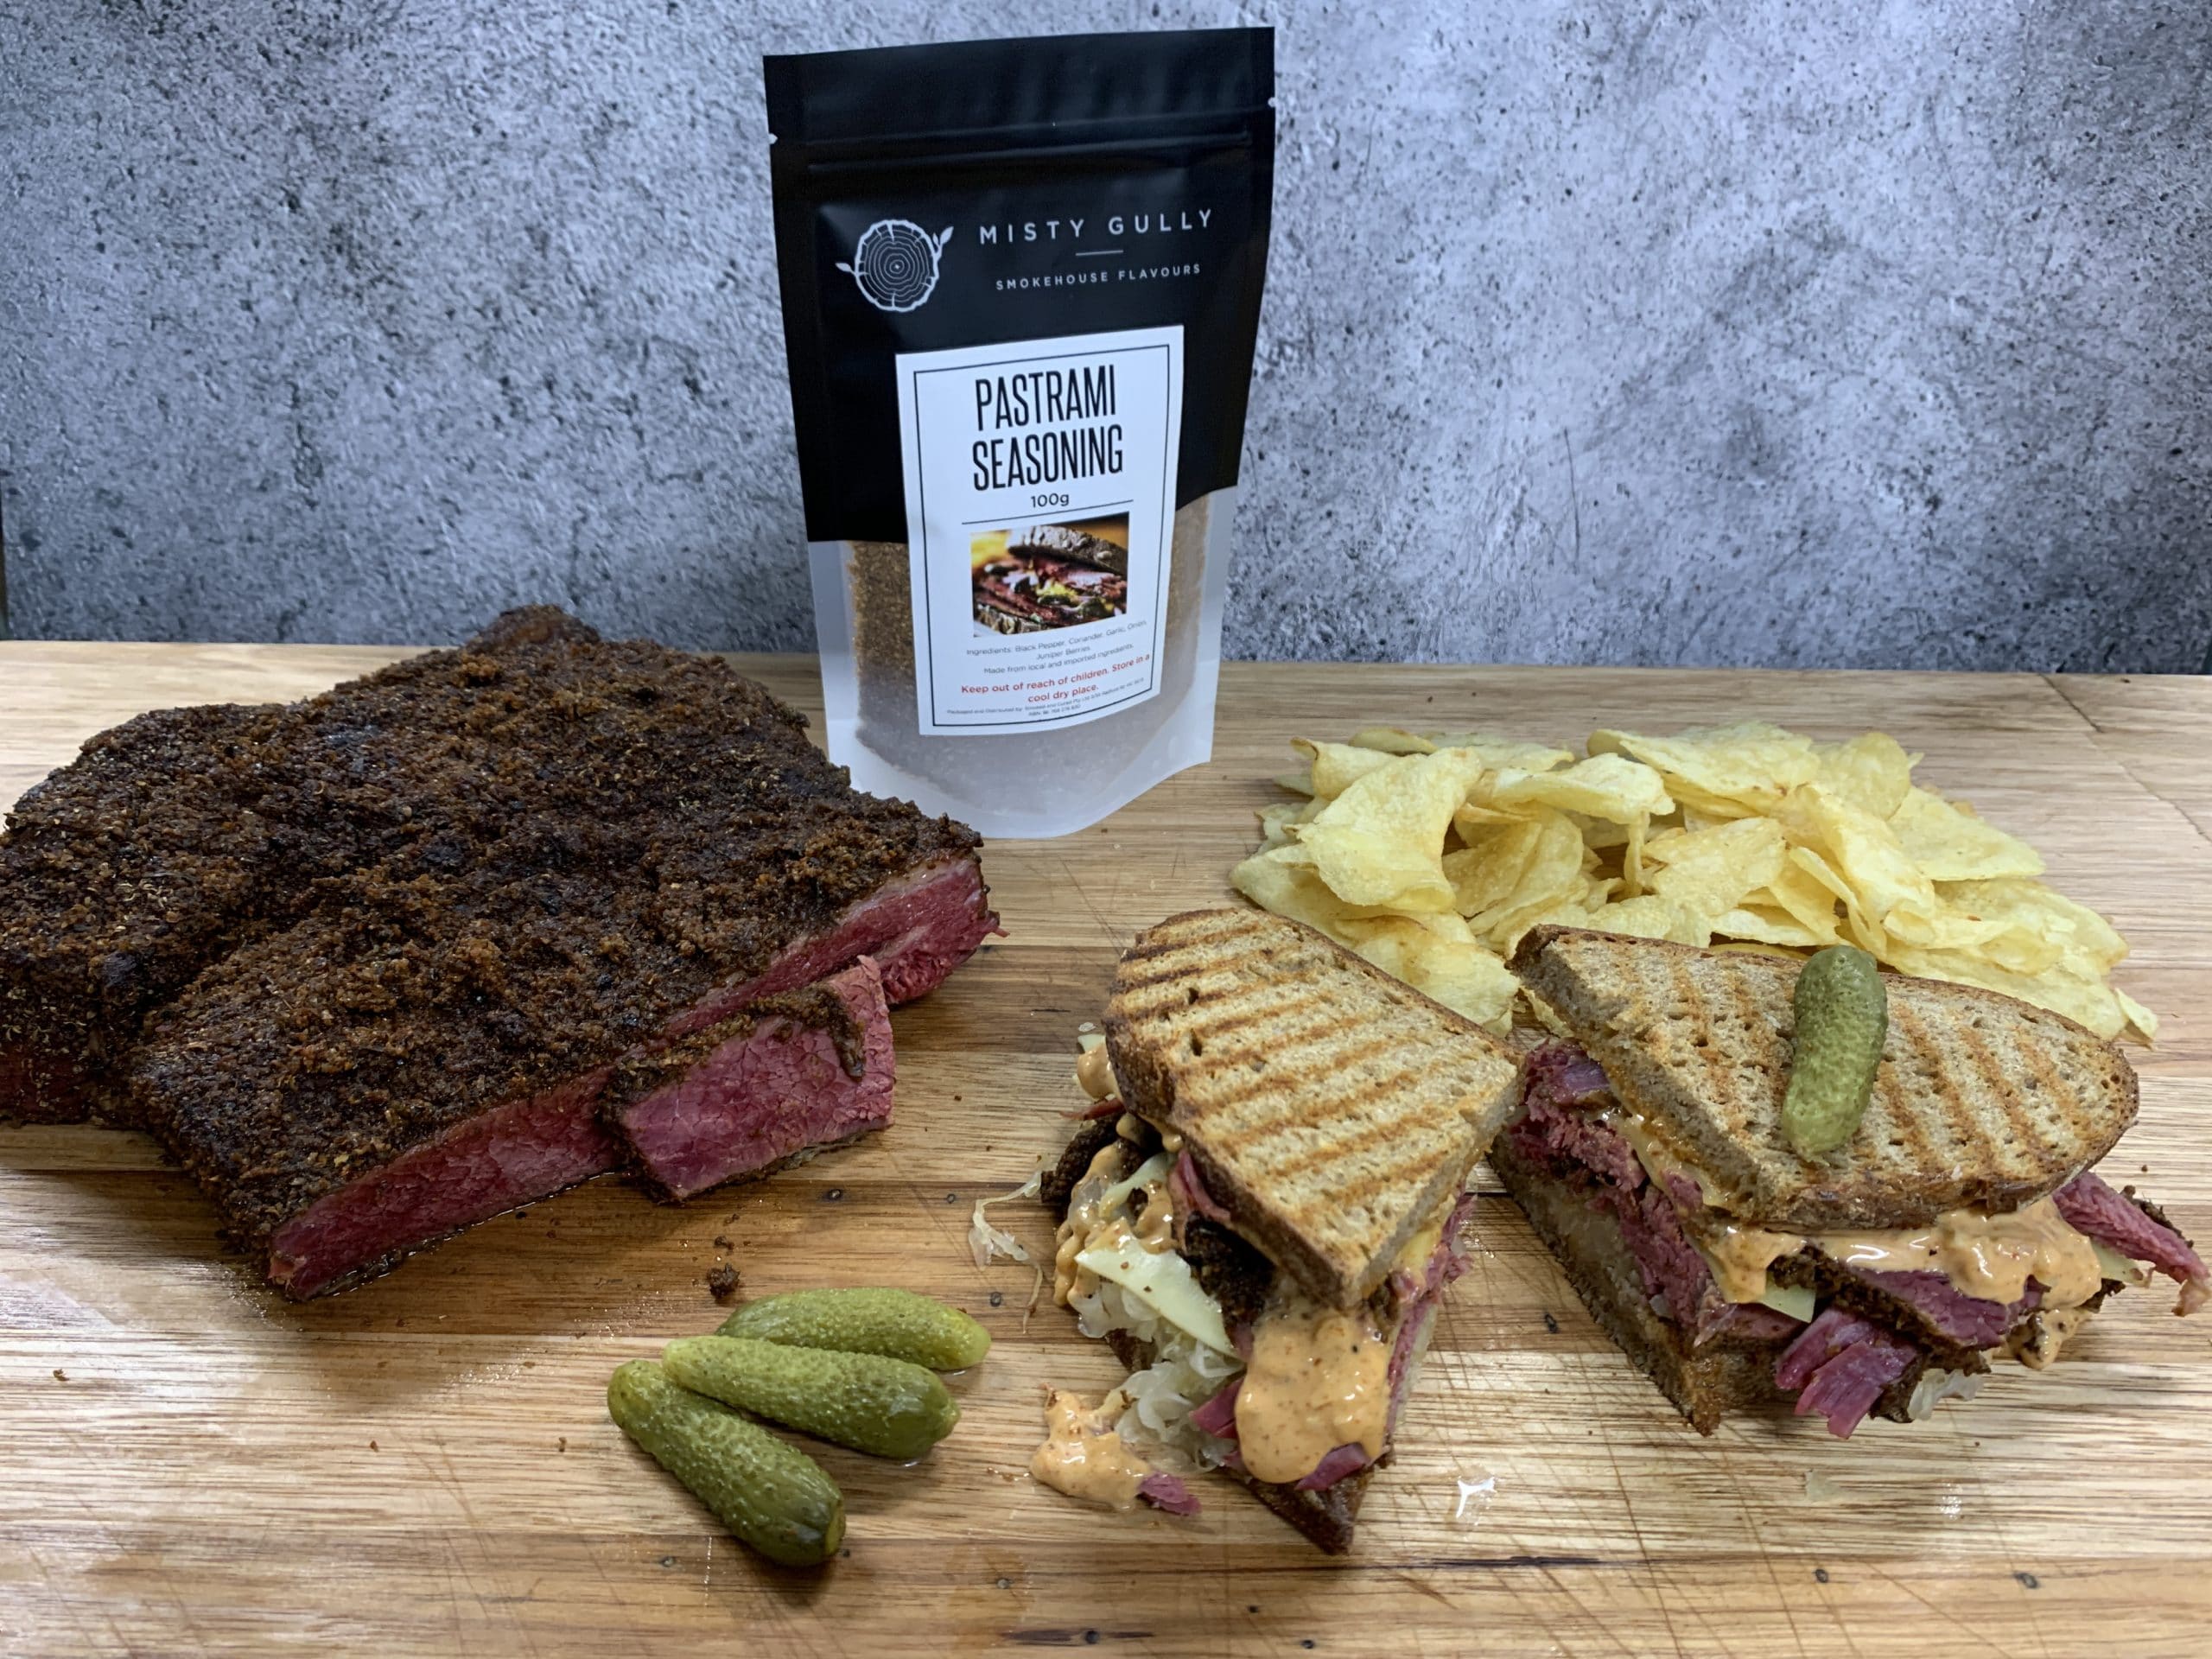
How to Make Pastrami
This simple pastrami recipe is sure to delight beginners and pros alike. Nothing beats a big juicy Reuben sandwich filled with your own home-smoked, mouth-watering pastrami!
