Making jerky at home is simple and delicious, and tastes 10 times better than store bought. It’s great because you can add your favourite herbs and spices to make it your own and adjust the saltiness or sweetness to your liking. You can also use prepackaged jerky cure and seasoning kits, such as the Hi Mountain Jerky Kits which come in a range of great flavours if you prefer to take the guesswork out of it. You can find everything you need to make awesome jerky at home on our Jerky Making page.
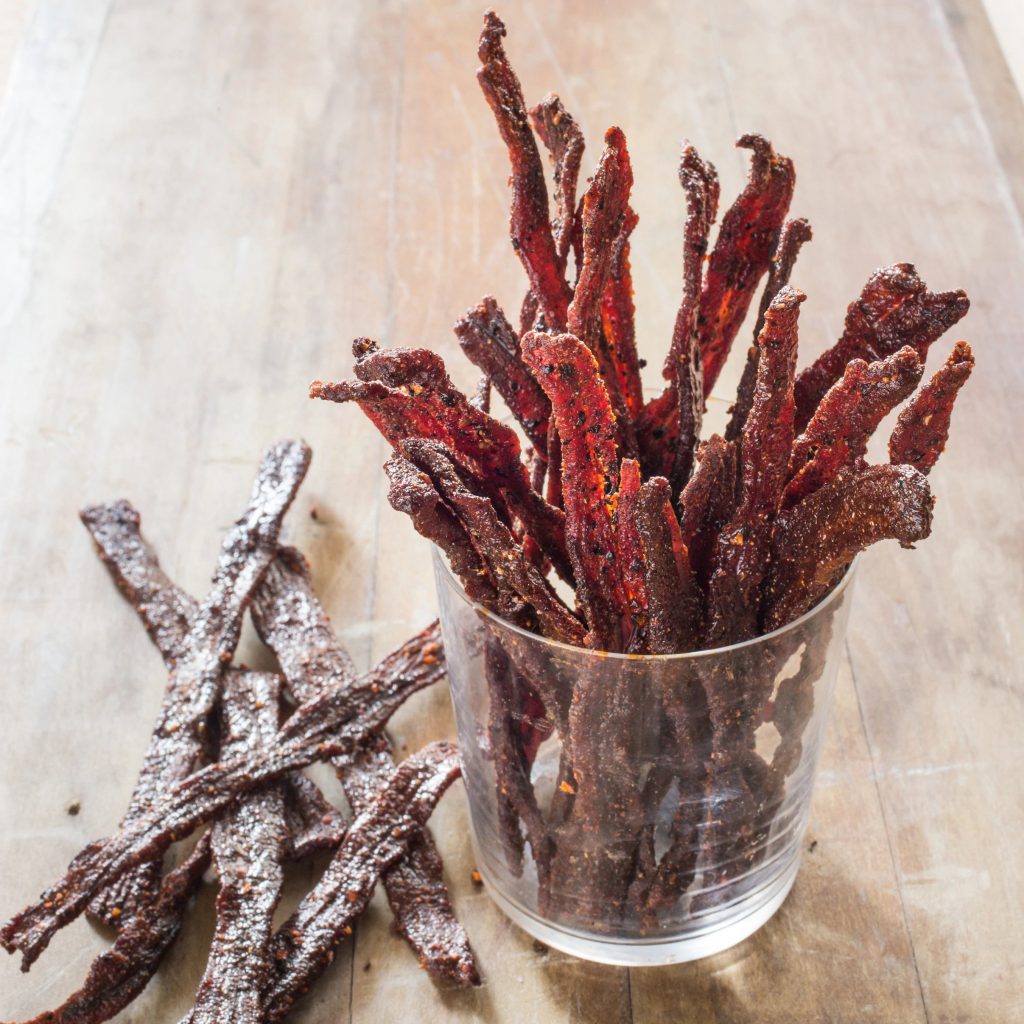
Here are some important things to remember when making jerky and some of our pro tips:
Choose lean cuts of meat
The first step to making great jerky is choosing lean cuts of meat that aren’t too fatty. Too much fat in the meat will hinder the drying process and will spoil meat quicker when storing it. It also doesn’t taste that good and can ruin the ‘bite’ of your jerky. Lean cuts of beef are the most popular when it comes to making jerky but venison or kangaroo meat are other great options. You can also use ground meat or mince and then use a jerky gun such as the Hi Mountain Big Shot Gun.

Slice thinly and evenly
Make sure to slice your jerky evenly for easier cooking. It’s a lot easier to slice the meat when it is semi-frozen, so place your meat in the freezer for about 1-2 hours before slicing to partially freeze. If you have a jerky slicer you can skip the freezing step as your slicer will cut the meat evenly.
Tip: Keep your jerky in large thinly sliced pieces for marinating and cooking. Once cooked, cut into smaller bite sized strips for eating. It is much easier to slice thinly once it is cooked and saves a lot of time when laying your strips on their racks prior to cooking.
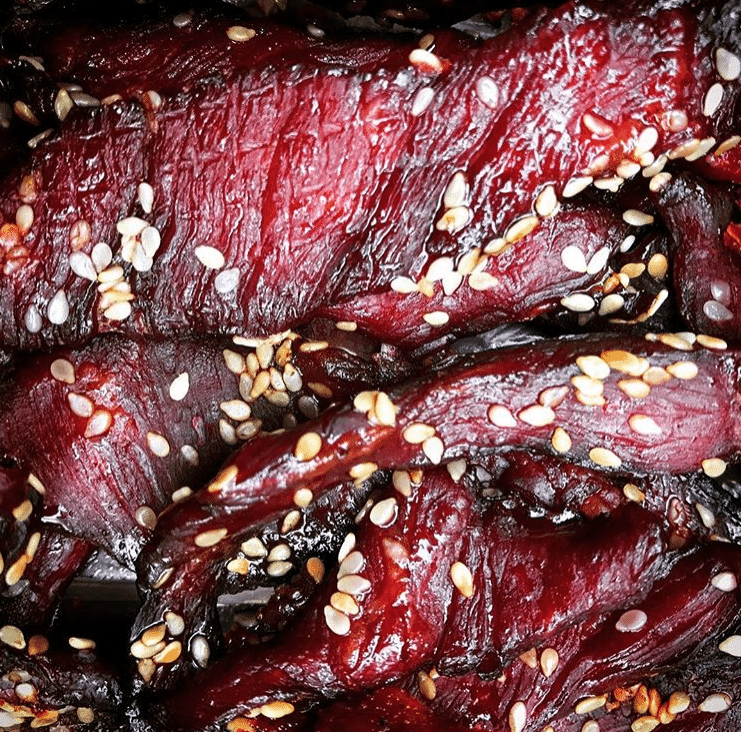
Use curing salt to improve safety, flavour and shelf life
Using curing salt when making jerky is not essential, however it does have a lot of great benefits. Using curing salt correctly helps to reduce the chance of harmful bacteria growing on meat and ensures a safer curing process. It also improves flavour, colour and extends the shelf life. Jerky will last for about 2-3 weeks with curing salt versus less than a week without it. We recommend using Cure #1 2% which is a special mix we have designed specifically for shorter curing processes such as jerky. You can also use this cure when making semi-dried sausages like kransky and chorizo. You need about 3g of cure per kilo of meat and leave to cure for about 24 hours.
Use liquid smoke to add an extra smokey flavour
Liquid smoke is a really simple way to add a smokey campfire flavour to your food if you don’t have a smoker. It’s a very versatile product that you can use on meat but can also add to veggies, cocktails or homemade sauces. Check out our blog on 6 different ways to use liquid smoke.
Choose your method (dehydrator vs oven vs smoker)
Whether you use a dehydrator, your regular oven or a smoker when making jerky is based on personal preference. There are pros and cons to each method but all of them will result in awesome, flavourful jerky!
Dehydrator

Pros
A dehydrator oven is worth investing in if you are an avid jerky maker or regularly dry herbs, fruits or veggies. Using a dehydrator will give your jerky an excellent dry and leathery texture and will help with flavour development. This dehydrator from Tre Spade is a top quality Italian made dehydrator with an easy to use control panel.
Cons
The major con of using a dehydrator is that they can take a long time, about 4-8 hours compared to 60-90 minutes in the oven, however the slower cooking time perfects the texture and flavour profile.
Oven
Pros
Using an oven for making jerky is one of the quickest and easiest options as you don’t need to go out and buy extra equipment. Using the oven is also great for flavour development as it cooks the jerky at a low temperature slowly. We recommend covering a baking tray with foil, placing a wire rack on top and then laying your pieces of jerky flat on the wire rack. This will be a lot easier in the clean up process than cooking the jerky straight onto the oven racks themselves.
Cons
It can be difficult to get that perfect dry and leathery texture when using an oven as it can be harder to ensure the jerky cooks evenly.
Smoker
Pros
The smoker is a tried and tested way to cook jerky and adds that great smokey BBQ taste without needing any liquid smoke. Using a smoker means that you can also make bigger batches of jerky and can choose whichever smoking wood flavour you like to infuse your jerky and add extra flavour. The Masterbuilt Electric Smokers are some of the best smokers out there and are perfect for making jerky as well as other American BBQ favourites.
Cons
Flavour development can be lost in the smoking process.
Pro tip: You can use a combination of these methods and try different approaches each time you make jerky to find what suits you. You can smoke your jerky first in the smoker and then finish it off in the dehydrator. This will ensure you don’t lose too much of the flavour from your herbs and spices but still get the right texture and great smokiness.
Get the temperature right
Temperature is everything when it comes to making jerky. Jerky needs to be dried at a constant low temperature between 71℃ to 105℃ depending on your cooking method and time. This will ensure that the jerky is food safe and kill any bacteria that may be present. Browse our equipment and accessories page to find the most suitable thermometers.
Storage
As soon as you finish cooking the jerky, place it in an airtight container while still hot and let the meat sweat to improve texture. You can store your jerky safely at room temperatures for up to two weeks or vacuum seal in a ziplock bag and store in the fridge long term. Have a look at our complete butcher supplies for home now!
Make your own Christmas Ham! Full curing, cooking and dresssing recipe.
With Christmas only two weeks away, we recommend placing your orders for gifts now to avoid delay and disappointment. Australia Post and most…
Lots of NEW products in NOW!
Take a look into the New products section to see what we have added recently.Outdoor Edge Knives, Bacon Salts & Rubs, Grilling Planks, Cedar…