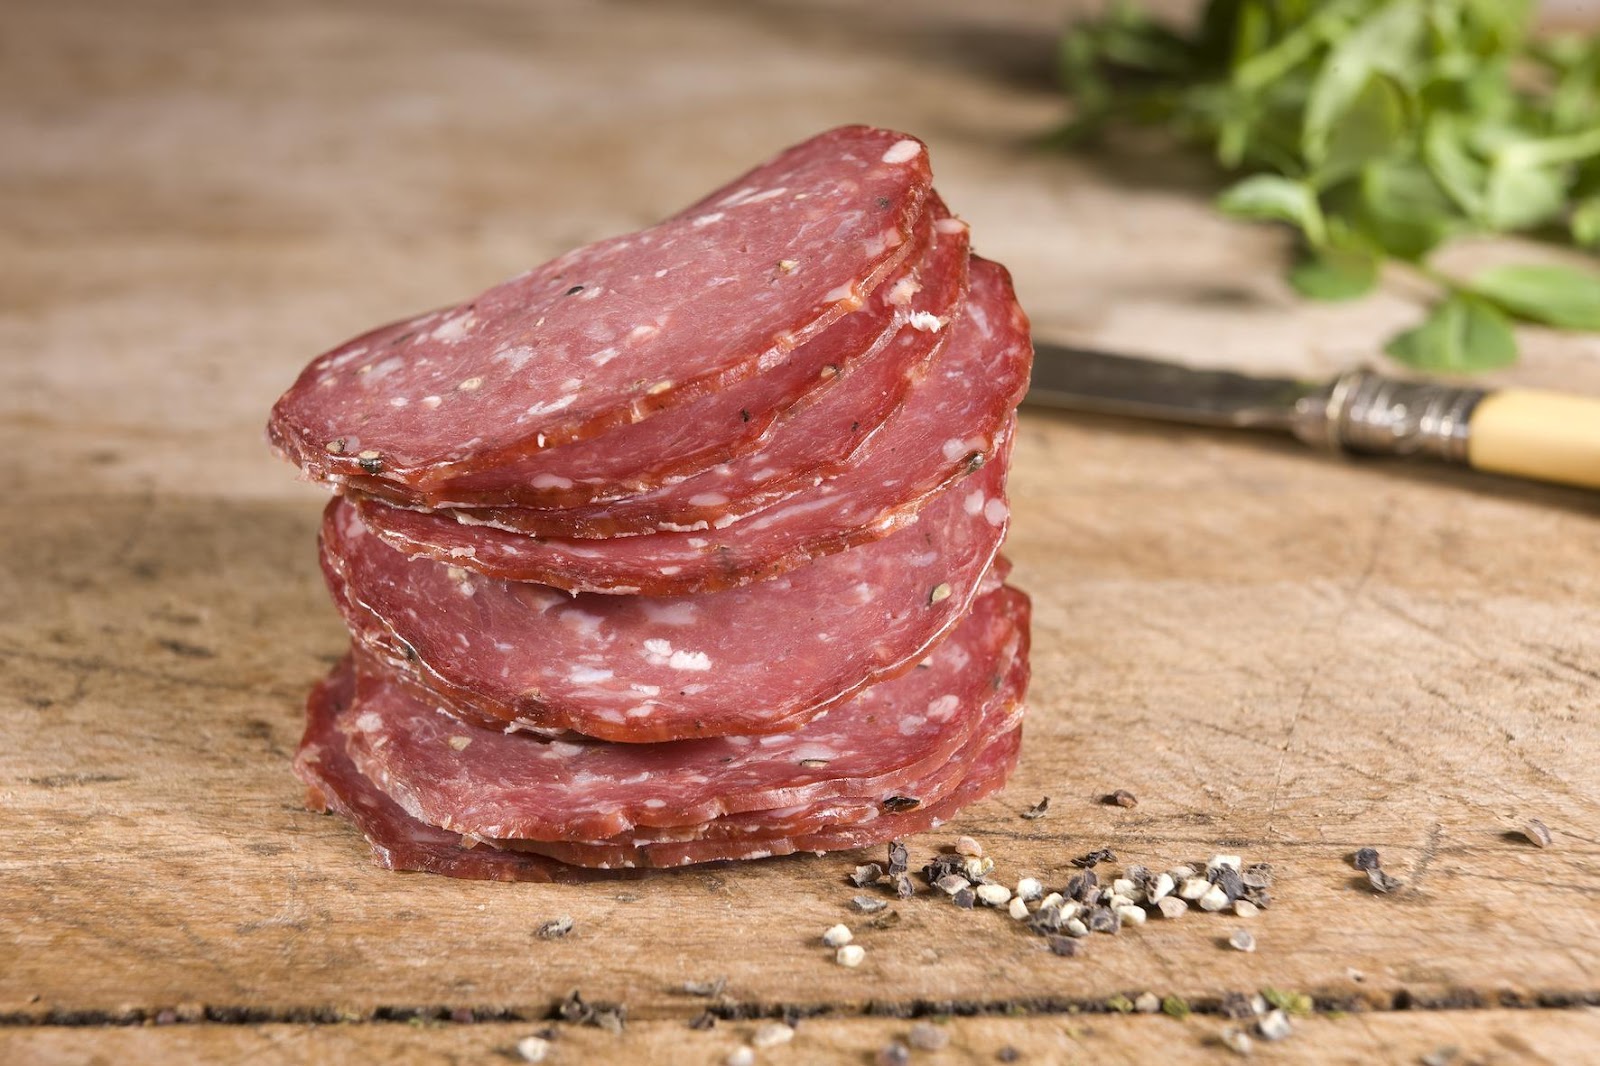
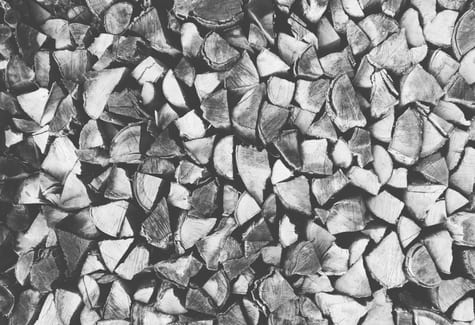
Making salami is equal parts science, equal parts art. It can seem like a daunting task to first timers and there are plenty of fail stories out there, however, it is an achievable feat with an enormous reward at the end. If you remember a few basic steps, do your research and invest in some good quality equipment, the time and effort you put in will be well worth it.
We’ve got a few handy tips and tricks to help you make perfect salami every time, whether you’re a beginner or a pro.
1. Choose good quality meat
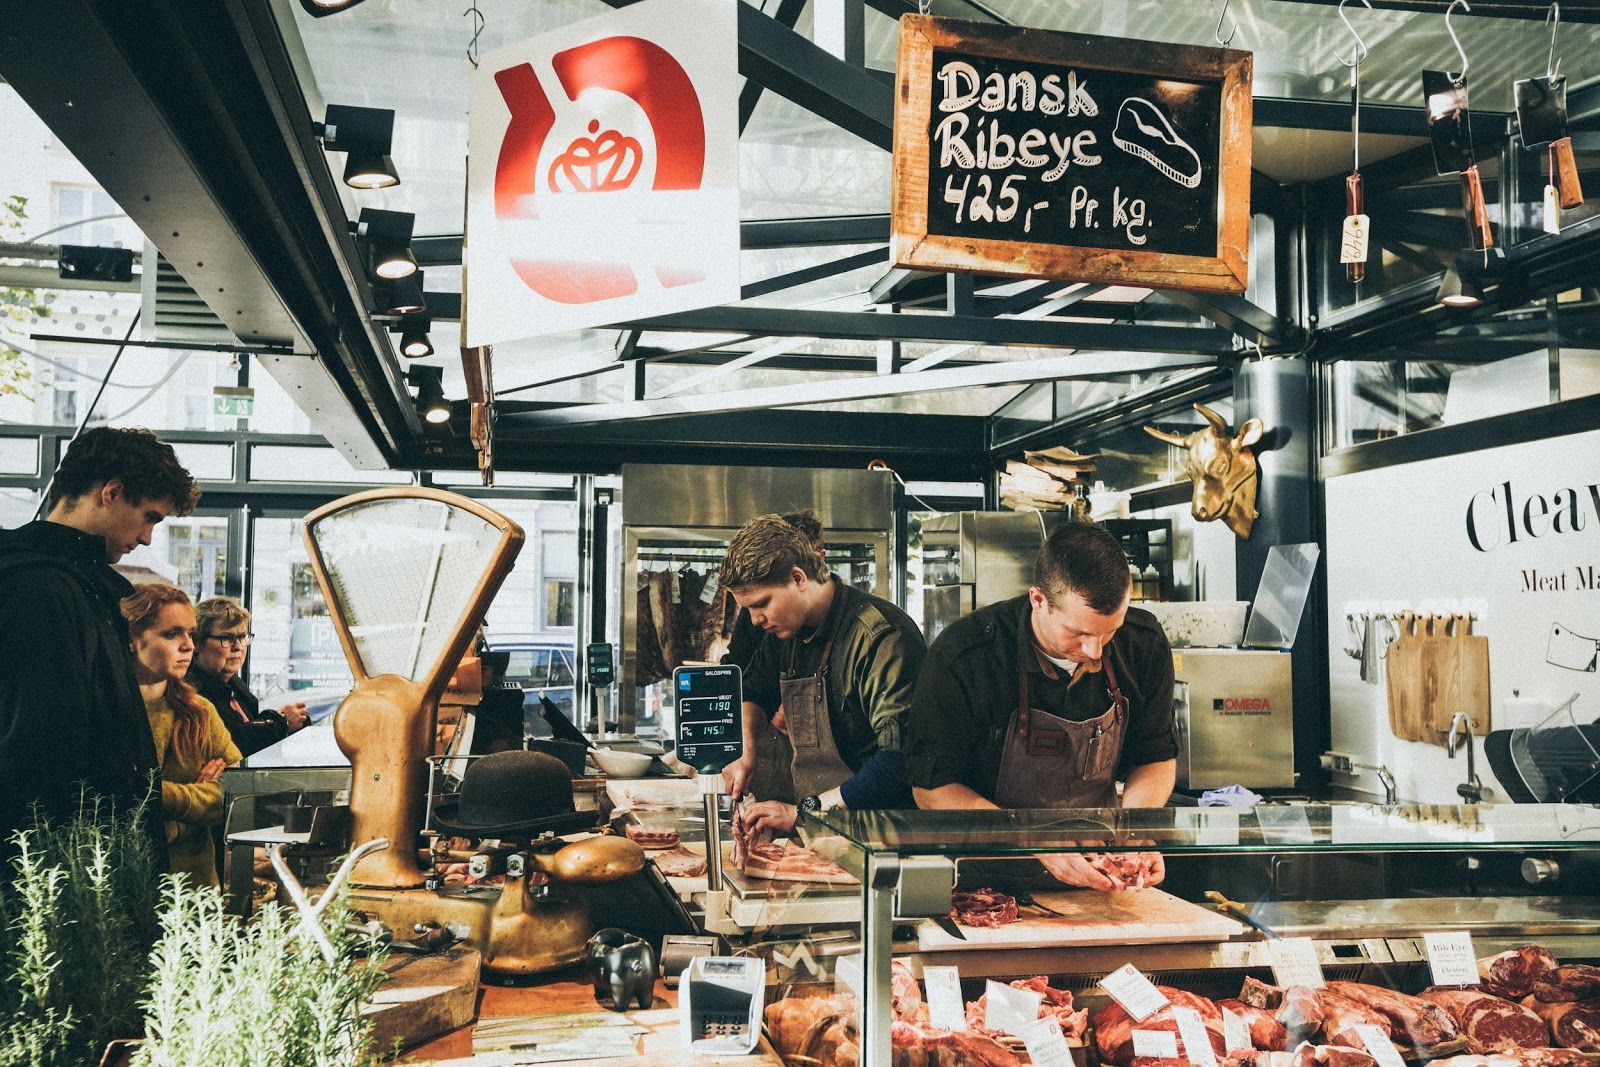
One of the most important choices you have to make when it comes to making salami is your meat. Choosing good quality meat that contains lots of fat, such as a shoulder cut, will ensure that your salami isn’t too dry or crumbly. Head to your local butcher for the best cuts of meat!
2. Invest in good quality equipment
Investing in some good quality equipment and ingredients will take your salami from good to exceptional. The most important elements you need when making salami are:
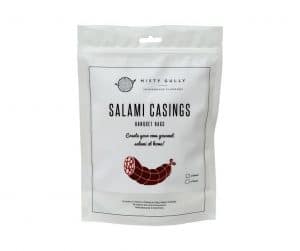
Casings
There are several different types of casings you can use when it comes to salami making and whichever one you choose will depend on your personal preference and preferred method. We stock a large range of casings and skins including natural hog casings, Salami Banquet Bags, fibrous casings or collagen sticks.
Equipment – mincer, filler and slicer
Investing in a good quality sausage filler, mincer and slicer that will last you a long time will ensure you don’t waste money in the long run.
A good mincer to use for salami making will typically be 1HP and grind using a large plate, 8mm-14mm. We recommend this No. 22 Reber Mincer.
A really good standalone sausage filler, such as this Reber, will make it a lot easier to stuff your casings and is a must have for salami making. If you’re stuffing your mixture directly from the mincer into your casings it will smear the fat and your salami wont bind properly.
A good quality slicer will be useful in slicing your salami thin and neatly as well as allow you to create professional looking charcuterie boards.

3. Practice safety- Include Curing Salt and Starter Cultures
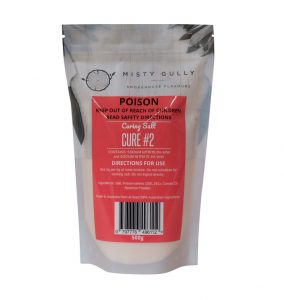
We highly recommend using curing salt (Cure #2) and starter cultures to enhance the flavour profile, colour and safety of your salami. Traditionally, the manufacture of fermented sausages has relied on the correct balance of bacteria’s already being present in the meat. This can be a hit and miss process with some failures, however, using a starter culture and curing salt (correctly), will ensure a more reliable result.
Curing salt is used to prevent the risk of Botulism, which is poisoning caused by bacteria growth that produces toxins, and can be fatal. As well as added safety, using curing salt adds pigmentation to your salami, giving it that traditional pink colour. Starter culture is used to ensure successful fermentation and produces that tangy flavour we love in salami. Using a starter culture will also lower the pH level which aids in controlling the growth of bad bacteria.

4. Cleanliness is king
It is vital that you keep all your equipment, surfaces and utensils clean when making salami to control the bacteria and ensure no bad bacteria finds its way in as this can easily spoil the salami. It is a good practice to sterlise all equipment before you begin to get rid of as much unwanted bacteria as possible. Wearing gloves or washing your hands regularly is also a good habit to get into.
5. Work in the cold
The winter months are often known as salami season because of the low temperatures needed throughout the salami making process.
When it comes to mincing your meat, it is a good idea to put your meat in the freezer beforehand and set the temperature as low as possible. This will make it a lot easier to mince your meat when it is semi frozen. When you are mixing your mince, it should be so cold that your hands go numb. This is a great time to have a friend with you so you can swap out or alternatively, use a manual meat mixer.
6. Get the mixing and stuffing process right
You want to mix your meat until it becomes slightly sticky and takes on a sheen, this is when you know it’s ready. This should take about 10 minutes. You don’t want to overmix it to the point where the fat begins to melt so it is important to find the right balance.
When you are loading your mixture into the stuffing machine, you want to make sure there are no air gaps in the mix as this will spoil your salami. Make sure to stuff it real good and push the mixture down as much as possible to ensure no air pockets.
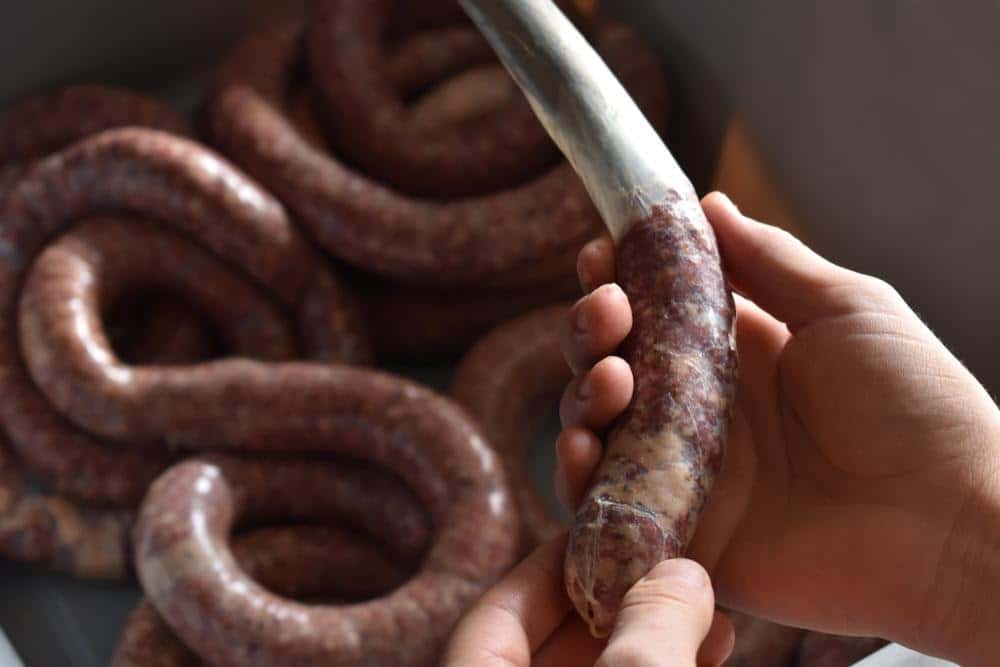
The same goes for filling your casings, stuff them as tight as you can to prevent any air gaps. If you do find some air gaps once you have stuffed your casings you can use a sterilised needle or a salami pricker to prick the casing where the air gap occurs.
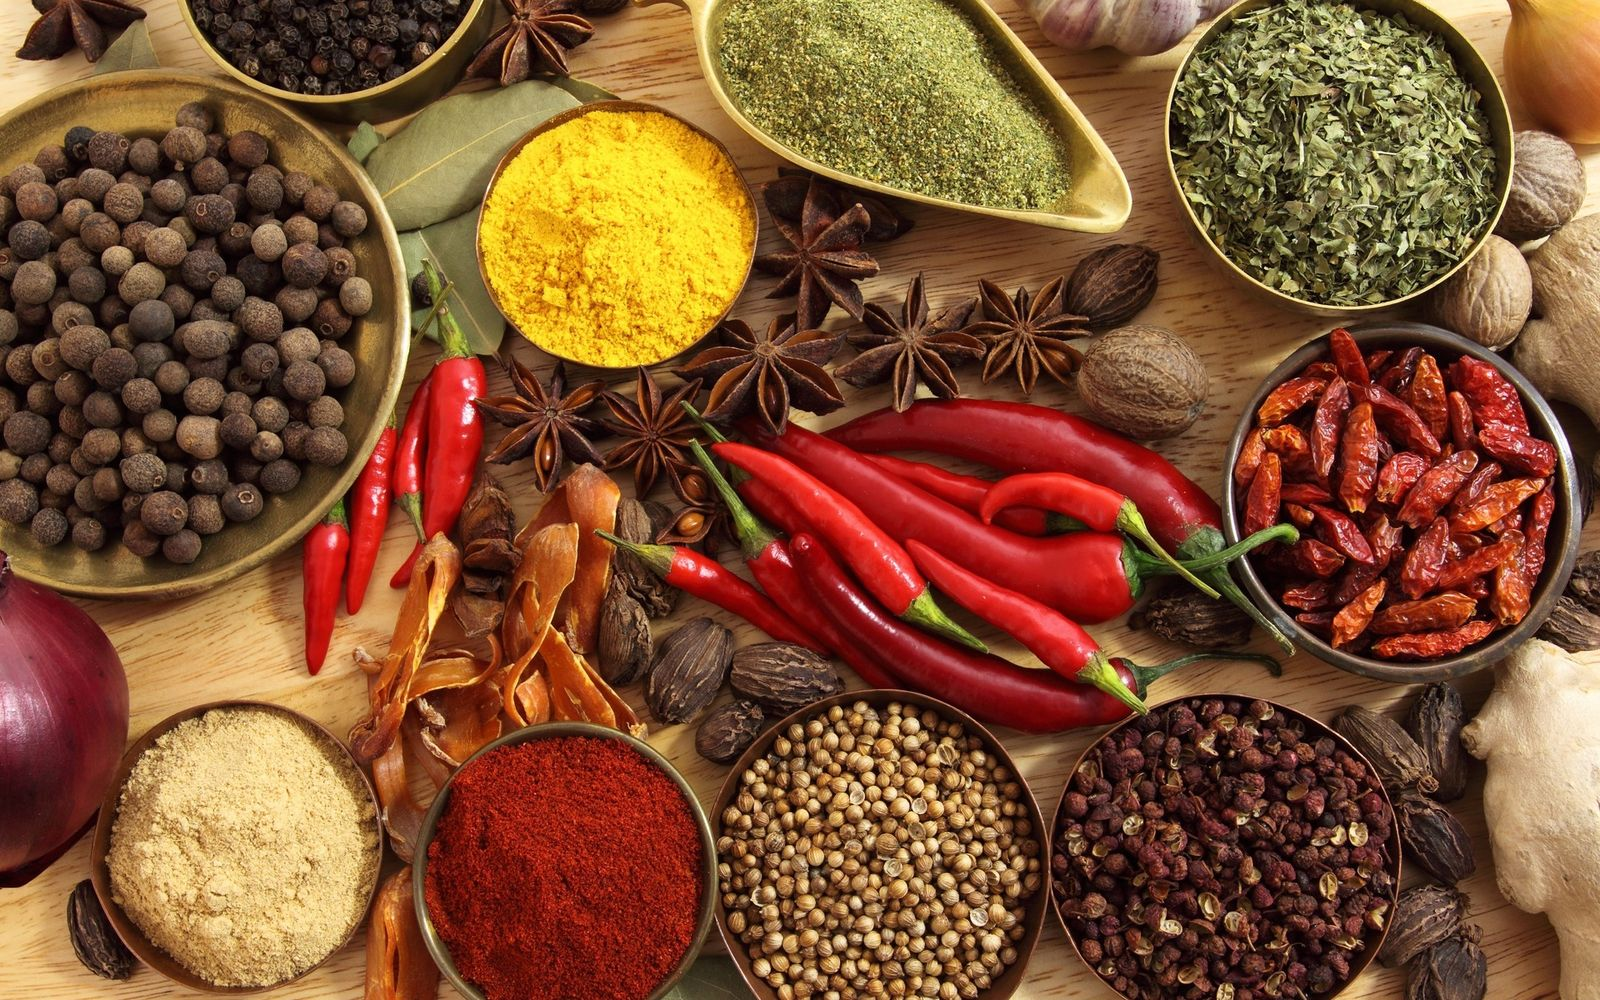
7. Get creative with spices
The great thing about making salami is that you can experiment with your favourite spices to really make it your own. We recommend following a recipe at first but then don’t be afraid to experiment. Traditional salami from Italy often includes things like pepper, garlic granules, fennel, oregano, chilli, wine and red pepper sauce. Eastern European salami (e.g Hungarian salami) will focus more on paprika, coriander seeds and nutmeg. For a unique Australian flavour profile we carry Native Tasmanian Pepperberries as well as a wide range of spices and different chillies.
8. Ferment your salami properly
The fermentation process is what kicks off the bacterial process within salami and allows the good bacteria to thrive. This is where adding starter cultures to your mix becomes important, the most popular being Bactoferm T-SPX which results in a traditional style salami flavour profile. In the case of using T-SPX, you want this to ferment for 72 hours at 20℃ and high humidity. This helps to ensure the outside of the salami doesn’t dry out too fast. This is called ‘case hardening’ and is where the salami can’t dry properly and the inside goes off.
Ideally, you want to ferment the salami in a cold garage or a small store room where you can regulate the temperature with a heater. To increase the humidity levels, you can spray the area with distilled water or boiled water. It’s important not to use regular tap water because of the bacteria.
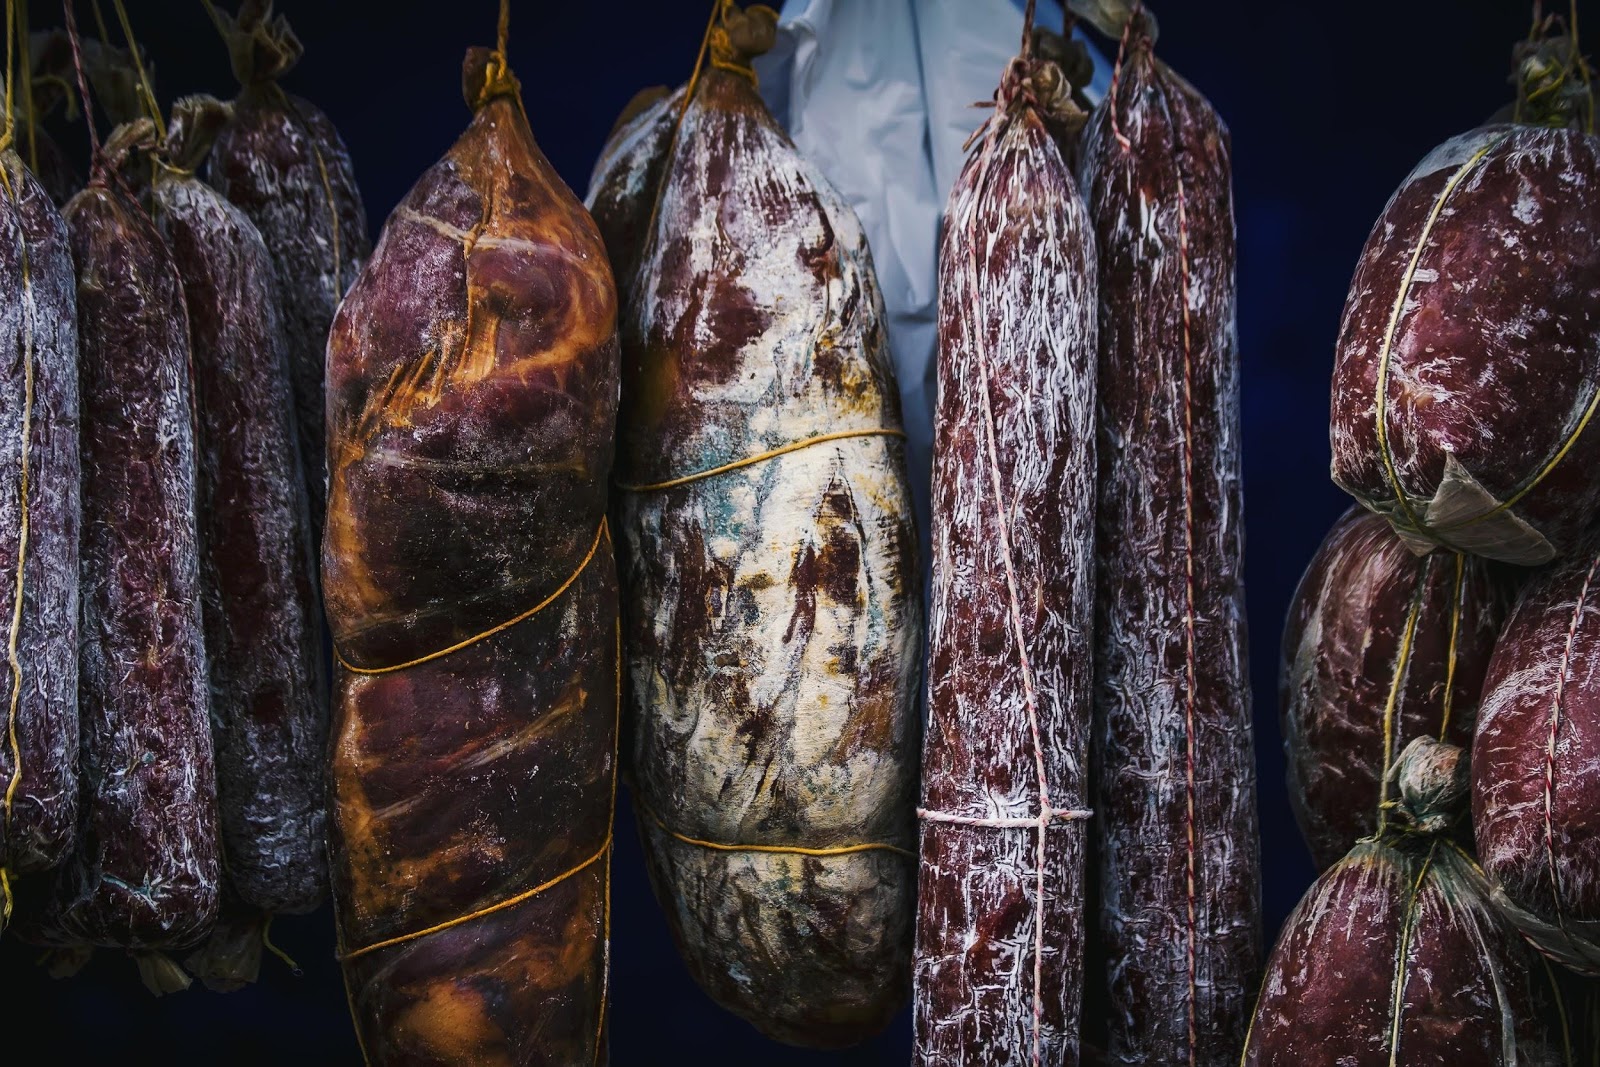
9. Hang (dry cure) in cool, humid temperatures
When it comes to hanging your salami, you ideally want to be hanging them in temperatures between 12-16℃ and 70% humidity or above. You don’t want an area with too much air flow as this can cause case hardening. Getting into the cooler months, a cold garage in Melbourne is perfect, otherwise you can use a curing chamber, such as the Cleaver Curing Cabinets, to replicate these conditions.
https://www.instagram.com/accounts/login/?next=/p/BzCLaTZh365/
When dry curing, your aim is typically to get a weight loss of around 35%, once you’ve achieved this then you know your salami is ready! To test the weight loss of your salami, choose one that you will weigh every week to check how quickly your salamis are drying/progressing. This part of the process usually takes about 4-8 weeks but this really depends on the thickness of your salami (if you use large skins it could take 3 months or more).
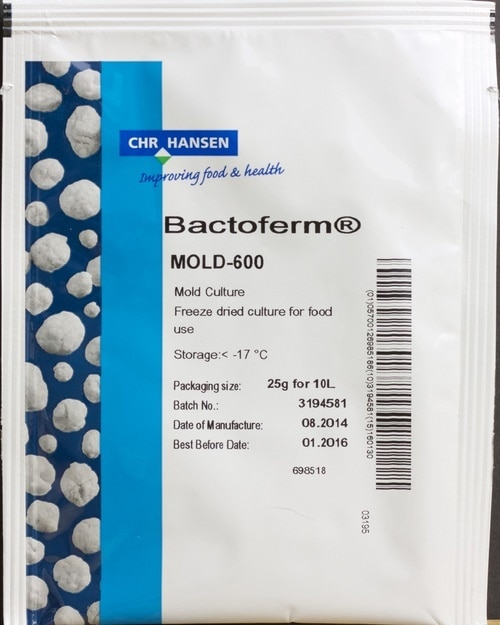
10. Control the mould
Once you have hung your salami, it is not unusual for foreign moulds to start growing on the outside of the skins after about a week or two. To control these moulds you can wipe down the outside with a 1:1 vinegar water solution or alternatively, introduce good moulds such as Bactoferm Mold-600. Once you have stuffed the casings, dip them into a Mold-600 and water solution during the fermentation period. You will notice the Mold-600 blooming within a week which will appear as white, frosty mould on the outside.
Some moulds are edible, but most will make you sick. It’s hard to tell what is good and what is bad and as such we always recommend you try to control the mould to remove all doubt. Black and red moulds are especially bad. It is always good to remember ‘if in doubt, throw it out’. View our range of home butchering equipment now!
Easter Newsletter! – Order some Jerky seasoning and cure in time for the holidays! Camp cooking spotlight!
Easter Special! Express Post on Jerky Orders + more bonuses! Easter Special! - Express freight on all Jerky purchases for the Easter break…
WHAT A RIB TICKLER !!
The Ribolator has come to Australia through Misty Gully. You probably have not seen or heard of anything like this but to be honest I am surprised…
Misty Gully Smokehouse online store is now SmokedandCured.com.au
In preparation for a very exciting announcement www.mistygully.com.au is now www.smokedandcured.com.auWe have also launched a Food Service and…
Great info,thanks heaps.Stay safe.